
If you’re like most people, you probably don’t have the time or patience to deal with a stripped screw. There are many reasons why someone might want to remove a stripped screw from a laptop motherboard. Perhaps you’re upgrading your computer, or maybe you’re just trying to fix a simple issue.
Removing a stripped screw can be a frustrating experience. Not only do you have to fight against the stripped screw, but you also have to worry about damaging the surrounding area.
Many people don’t know how to remove stripped screw from laptop motherboard, which can waste time and effort. They resort to using pliers or other tools to remove the screw, but this can often lead to further damage.
If you find yourself in this situation, don’t worry, we’re here to help. Here are a few simple methods that can help you remove a stripped screw from your laptop’s motherboard.
1. Using a rubber band
Using a rubber band is probably the most common and easiest way to remove a stripped screw. This method works by wrapping the rubber band around the head of the screw so that the band can help to provide extra grip.
Once the rubber band is in place, you can use a screwdriver to turn the screw and loosen it. But make sure that you’re careful not to strip the screw any further and damage the surrounding area.
Read: How to Tell If a Laptop is Refurbished?
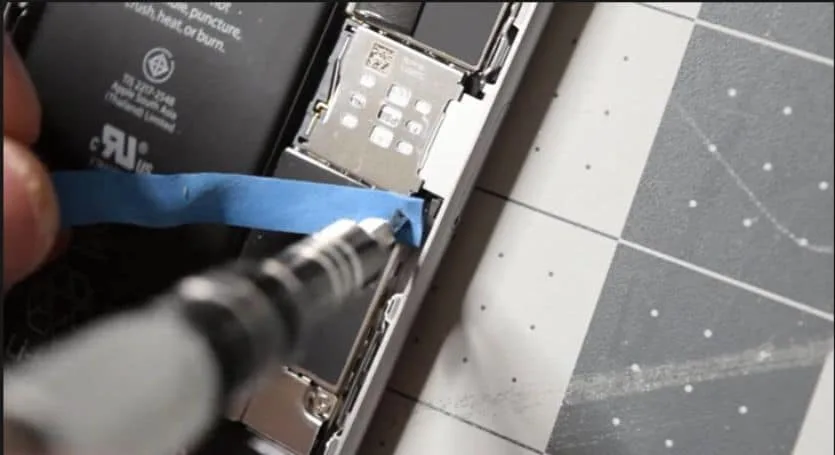
If you don’t have a rubber band on hand, you can also try using a piece of tape. Just ensure that the tape is wrapped tightly around the screw so it doesn’t slip off. You can even use bicycle inner tubes in a pinch.
2. Try different types of screwdrivers
If the rubber band method didn’t work for you, you should try using a different type of screwdriver. This includes using a flathead screwdriver or even a hex driver.
The key is to find a screwdriver that fits snugly into the head of the screw. Once you have the right screwdriver, you can try to turn the screw and loosen it. But be careful not to strip it any further.
Also, you need to be extra careful when using a hex driver because they can easily slip out of the head of the screw. So, make sure that you’re holding it tightly in place as you turn.
3. Try adding superglue on the screw
If the screwdriver you are using keeps slipping off the head of the screw, try adding a bit of super glue to it. This will help create a stronger grip so that you can remove the screw more easily.
Add a small amount of superglue to the screwdriver’s tip and then insert it into the head of the screw. Give it a few minutes to dry before attempting to remove the screw again.
After the glue has dried, apply moderate pressure to the screwdriver and turn it counterclockwise. The screw should start to loosen and come out. If it is still stuck, you should repeat the process once again.
Read: How to Remove Stickers from Laptop for Reuse?
However, clean off the excess glue before it dries, as this can make removing the screw more difficult.
4. Insert a drill bit into the head of the screw
If you have a power drill, you can try inserting a drill bit into the head of the screw and then drilling it out. It is a good idea to start with a small drill bit and then gradually increase the size until you are able to remove the screw.
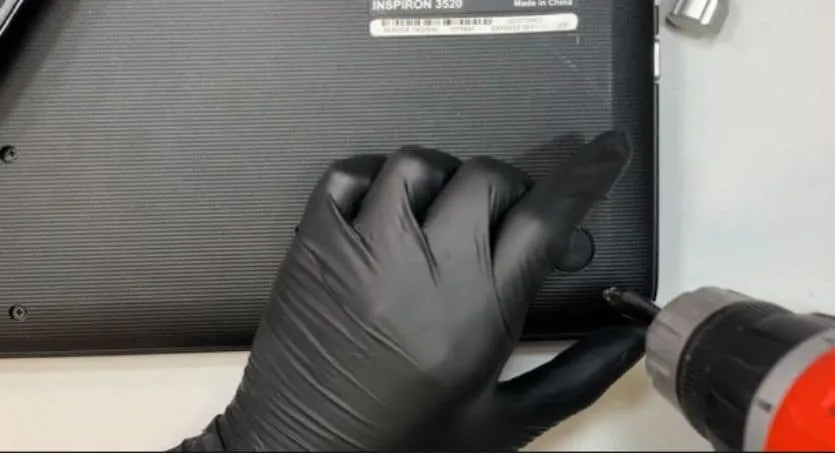
However, be careful while using the drill since you don’t want to damage the surrounding area. Also, you need to ensure that the drill bit is compatible with the type of screw you are trying to remove.
Fix: Laptop Slows Down when Plugged in?
5. Use a screw extractor
A screw extractor is a tool that is used to remove screws that are stuck or damaged. The extractor has a cylindrical shaft with three flutes or grooves around the outside. There is also a square-shaped head at one end and a Phillips or slotted drive at the other.
When using the extractor, you first need to drill a small hole into the head of the screw. Then, you will need to insert the extractor into the hole and turn it in a clockwise direction. As you turn the extractor, it will grab onto the threads of the screw and start to remove it.
You can find these extractor tools at most hardware stores. I also recommend you get a screw extraction kit, which will come with different sizes of extractors to fit different screws.
Also Read: Best Laptop for Psychology Students
6. Use a Dremel tool
If any of the above methods didn’t work, you should try using a Dremel tool. Dremel tools are rotary tools that can be fitted with various attachments for different tasks. They’re very versatile and can be used for everything from sanding to carving. They’re also ideal for removing stripped screws.
The tool will need to be fitted with a grinding attachment. Once this is done, you can simply grind away at the head of the screw until it’s flush with the surface of the motherboard.
Be careful not to damage the surrounding area. Once the screw is removed, you can use a soldering iron to remove any remaining metal filings. Also, make sure you wear safety goggles when using the Dremel tool.
7. Take the laptop to a professional
If you have tried all of the above methods and still can’t remove the screw, then your best bet is to take the laptop to a professional.
It’s happened to the best of us- we’re working on our laptop, minding our own business when suddenly the screw won’t budge. We try every which way to remove it, but it’s just not happening. Eventually, we give up and resign ourselves to living with a stripped screw in our laptop.
However, there is a safe way to remove a stripped screw from a laptop motherboard- and it doesn’t involve taking the whole thing apart. All you need is a professional. They will have the tools and expertise to remove the screw without damaging the motherboard.
Read: Ground Yourself when Working on a Laptop?
Final thoughts
Stripped screws are a pain, but with the right tools and patience, they can be removed relatively easily. This article showed how to remove stripped screw from laptop mother using 7 methods. You can use any of them.
However, be careful while working on your laptop- if you’re not comfortable with any of the methods, it’s always best to take it to a professional. They will have the experience and knowledge to do the job without damaging your laptop.
Also, make sure you ground yourself before working on any electronic device. This will help prevent static electricity from damaging the delicate components on the motherboard.
Hopefully, one of these methods worked for you, but if not, don’t worry! There are plenty of other ways to get the job done. Be sure to share your experience in the comments below and let us know how you got on. Until next time, happy repairing!