
With the advancement of projection technology, projectors are now one of the best sources to enjoy movies, dramas, sports, and programs on a large screen. People are rapidly switching from TV to projectors. Thus it is becoming one of the primary mediums for entertainment.
But, finding the best projector at a cheap price to enjoy free time is tough. Also, most of the budget projectors don’t allow you to use them in an outdoor environment unless they are connected to a power source.
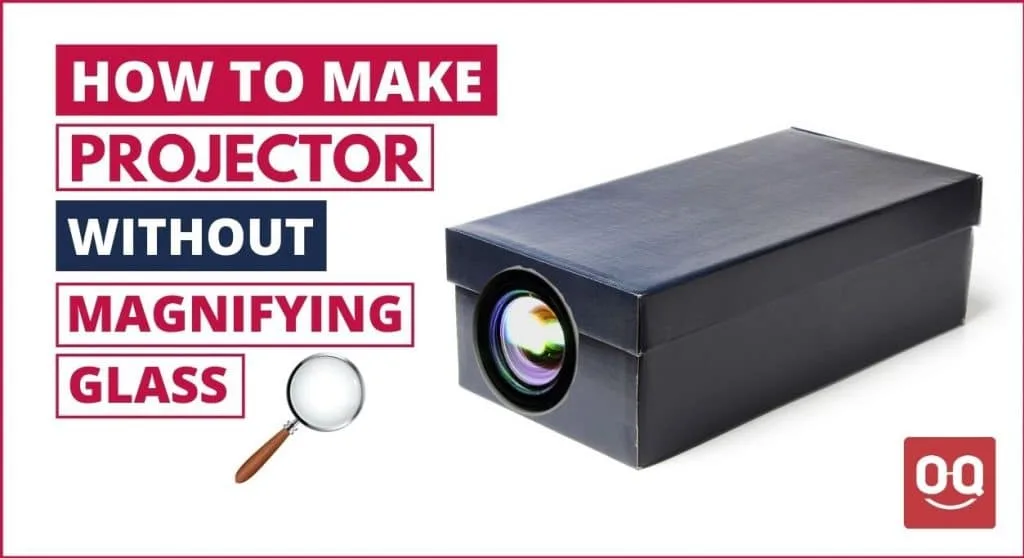
So, if you are one of them who is struggling with your budget then don’t worry. Because, we are going to guide you through how to make a homemade projector without a magnifying glass, spending less than $5.
In the whole process, we will be using very cheap materials that are available at your home.
Therefore, without further talk, let’s get started.
how to make a homemade projector without a magnifying glass?
Follow these steps to make a projector without using any magnifying glass –
1. Get Your Materials
Here are all the materials required –
- Cardboard box or shoebox with cover
- Smartphone
- Pencil
- X-Acto knife
- Bulb
- Water
- Black papers
- Tape
All of these materials are required to start the process. So, make sure you have all of these things ready.
2. Position the bulb
After you have collected all the materials, now start the process by positioning the bulb in the cardboard or shoebox. Make sure the box you have chosen for this project is large enough to adjust the projection size and distance.
First of all, take the bulb and remove the end cover of the bulb with the knife and remain with the glass side only. Then take the box, and bulb, turn the box to be on the table from the small side and place the glass side of the bulb. Position the bulb on the box.
Make sure you position the bulb in the middle of the side. When you placed the bulb correctly on the box, mark the position perfectly by using a pencil.
3. Place the bulb in position
Once you marked the position correctly, now you have to place the bulb in the box.
So, take your knife and cut the box part that you have marked using the knife. Make sure you cut the outline perfectly so that the bulb can fit perfectly. Be careful while you are cutting the box. If you are a child, make sure you ask any of your family members to help you do this.
When you are done cutting the part you had marked for the bulb, place the bulb nicely on the spot and tape the bulb firmly in the position.
4. pour some water into the bulb
In this step, after placing the bulb perfectly in the box, you will need to pour some pure water that has no impurity inside the bulb until full.
Make sure you don’t pour water inside the box when you pour the water inside the bulb. When you successfully pour the water inside the bulb until full, close the top of the bulb with tape or a bottle top. Then tape the bulb firmly in its place.
5. Making a stand for the phone
Once you have pour water into the bulb, now you will need to make a cardboard stand for the smartphone.
To do this, take an L-shaped box that can fit perfectly on the wall of the box. Then use masking tape to stick your smartphone with the cardboard box. Now place the stand inside the shoebox and make sure it enables you to move your phone forward or backward without any problem.
If the stand fits perfectly inside the box, then it is time to test if the box cover will fit properly again. That’s why place the box cover on top of the box and cut out the part you have marked of the bottle top and remove it. After you cut the part, place the cover over to fit the box.
6. Cover the box interior
When you are done with the stand-making process, you have to cover the interior of the box with black paper. Because the black interior will not reflect any light and it will enhance your viewing experience with better image quality.
Therefore, take your black papers and shape them to fit properly in the box, covering every single corner of the box. For it to be well covered and stick together well, tape them perfectly.
If you don’t have matte black papers for this job, then you can use black paint. Paint the interior of the box properly. After you painted the interior of the box, let the paint dry.
But while painting the interior, make sure you protect the bulb and smartphone from paint.
7. Setting up the smartphone
From the previous step, we are actually done making the projector without using a magnifying glass. But there are a few important things that you need to do before finishing up.
You have to rotate the video upside-down that you are going to project on the wall because the glass inverses the images. Therefore, for you to get the right position of an image on the wall, rotate the video upside down. It will take you only a few minutes to start watching your favorite movies from here in any position you want.
Almost all the phones come with rotating functionality. If your phone doesn’t have a screen rotation option then you may have to install a screen rotating app to help you position your screen or you can simply place the phone upside down inside the box.
Go for a test run
When you are done rotating the video perfectly, now you are all good to start watching your favorite shows and sports from your phone to the wall.
Go for a test run and check if the image quality is good enough or not. If you find the image quality poor then find the perfect throw distance of your projector by moving your phone forward and backward until you find the perfect position that your images are shown correctly. Also, make sure you increase the brightness of your phone.
Also, you may find that the sound it produces is not that good for you, and at some point, it may not be very clear to you. In this case, it is recommended to use wireless external speakers that you may use to produce a loud sound.
Things to consider while making the projector
Making a DIY projector at home is totally safe and risk-free work to do. But there are a few things that you need to consider while going through the process –
- Before starting the process, make sure you take safety precautions.
- Don’t let your kids come near the area while you are working with any sharp material.
- Choose a large enough box so that you can move the mobile stand forward and backward easily.
- Make everything is perfect before installing the bulb in the box.
- While pouring water, do it carefully so that it doesn’t get inside the box.
- Deal carefully with the knife.
- To cover the interior of the box, try to choose deep matte black papers.
- If you are planning to paint the box interior, then make sure you cover the bulb.
- Increase the brightness of your phone to the max before you start playing any video
Conclusion
So, now you know how to make a projector without magnifying glass at home. It is a very interesting and unique project that you can do at your home and save some money.
Projector has become an essential machine and they are being widely used in business presentations, schools, agencies, and homes. But making a projector at home without even using a magnifying glass is a challenging task.
In this article, we have shown you how you can cost-effectively make a projector. You can carry out this process yourself or invite your friends to join you.
A homemade projector is not an actual projector, but it is better than nothing. You can project videos on the screen and entertain yourself by watching your favorite shows and dramas cost-effectively.
We hope that we have explained the process properly in detail so that you don’t face any problems during the process. Thanks for being with us 🙂