
You may want to arrange a movie night at your place or enjoy your favorite movies in the utter delight of outdoor viewing. But the main obstacle to this plan is that you don’t own any projector.
Projectors have come a long way over the past few years and they are one of the the best sources to enjoy movies, dramas, sports, and programs on a large screen. They are gradually becoming the primary medium for entertainment as many people switching from TV to projectors.
But, finding the best projector at a cheap price is difficult. Also, they cannot be used in an outdoor environment unless they are connected to a power source.
Don’t worry. Because in this article, we will explain to you how to project laptop screen to wall without projector using very cheap materials available at home. You can use any laptop for this task.
So, without further talk, let’s get started.
How Project Laptop screen to wall without projector?
Now, follow these steps to start the process to protect the laptop’s screen to the wall without a projector below.g –
1. Get Your Materials
Here are all the materials required –
- Laptop
- Big cardboard box
- Black paper
- Large magnifying lens
- Tape
- X-Acto knife
- Pencil
- Glue stick
Make sure you have all these things ready to start the process. If you don’t have any of them then you can buy them from a local store or order them online at Amazon.
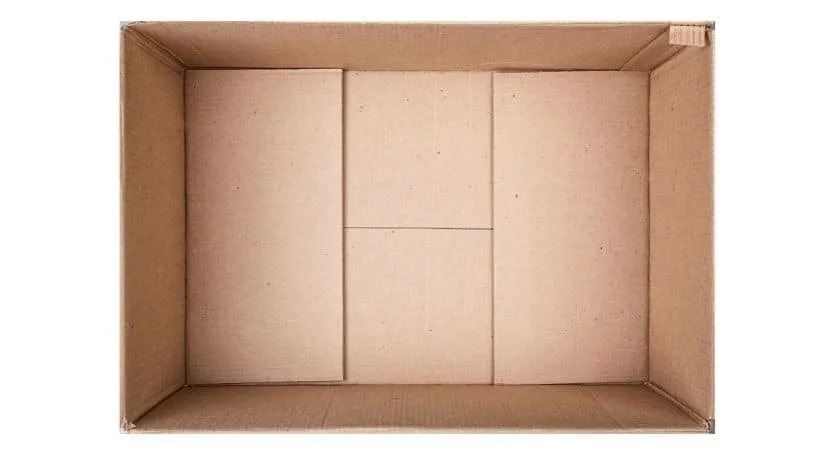
2. Use the Right Box and magnifying lens
You have to got to place a large magnifying lens and a laptop inside the cardboard box. Therefore, it is very important to choose the right cardboard box. Make sure the box you are choosing for this job is big enough to fit a laptop inside. It will be better for you if you measure the width of the laptop first.
Also, make sure the box is long enough so that you can adjust the projection size and distance between your laptop and the magnifying lens.
Moreover, in this task, you have to use a large, plain, rectangular lens. Try to pick a lens that is the same size as your laptop screen.
3. Position the lens
When you gather all the necessary things at a place, you can start the process by placing the lens in the cardboard box.
Take the box, pencil, and lens. Now, turn the cardboard box to be on the table from the small side and place the large magnifying lens on top of the other side. Then position the lens perfectly on the box.
Make sure you position the lens at the middle of the side. Once you placed the lens perfectly on the box, mark the position correctly by using a pencil.
4. Install the lens in position
Once you find the perfect place for the lens and mark it correctly, now you have to install the large magnifying lens in the cardboard box.
To do this, take your knife and cut the outline so that the lens fits perfectly. If the cardboard is very thick, take a sharper knife or a cardboard cutter.
When you are done cutting the side for the magnifying lens, place the lens nicely on the spot and tape the glass perfectly in position. Make sure that the lens is placed correctly and the inside of the lens where you see well should be inside the box.
5. Cover the box interior with black paper
Once you are done with the lens installation process, you have to cover the interior of the cardboard box with black paper for better image quality. The black interior will not reflect any light and it will enhance your viewing experience.
Therefore, you have to blackout the interior of the cardboard box with matte black papers. Take your black papers and shape them to fit properly in the box, covering every single corner of the box. For it to be well covered and stick together well, apply glue to the dark papers before holding them down on the box.
Also, you can try applying the glue onto the interior walls first. You can do it easily using any brush or with your hands.
If you don’t have matte black paper, then you can use black paint for this job. Paint the interior of the cardboard box properly. After painting, let the paint dry. While painting, make sure you protect the magnifying lens from paint by covering it with any paper.
6. Place your laptop into the box
In this step, you have to place your laptop in the cardboard box. Make sure you aligned the laptop perfectly with the magnifying lens. You can turn on your laptop to adjust the position of your laptop properly.
From this point, we are actually done making the main thing. But there are few important tasks that you need to do before finishing up.
You have to rotate the video upside down that you are going to project on the wall. It will take you only a few minutes to start watching your favorite shows from here in any position you want.
How to rotate video upside down?
So, you are all done with the main part of the process. But if you now try to project an image from the laptop, you will see that the image projected on the wall is upside down. To solve this problem you have to rotate the video upside down which you are going to play on the laptop.
If you are using Windows 10, then the process is very simple. If you search properly then you will find an app named “Video Editor” that comes pre-installed as part of Windows 10. Then –
- Open the “Video Editor” app
- Start a new project
- Name the project
- Import the video that you want to rotate
- Select the video and click “Place in Storyboard” which is located in the “Project Library” section
- Now you can rotate your video by pressing CTRL + R
- Once the video is upside down, click on “Finish Video” and save it
https://www.youtube.com/watch?v=_gchw1awO7I&t=207s
If you are not using Windows 10, then you may have to download video rotating software to help you position your laptop screen. Also, there are many free video editing software available that can help you rotate the Video or you can use a video player that allows you to rotate videos while watching.
Go for a test run
When you are all done rotating the video perfectly, now you are all good to start watching your favorite movies and shows from your laptop to the wall or projector screen.
If the image quality is not good, then find the perfect focus for your image on the wall. You can achieve this by moving your laptop until you find the perfect position that your images are shown correctly on the wall or projector screen the way you like them.
Also, after going for a test run, you may find that the sound it produces is not that good for you, and at some point, it may not be very audible to you. In this case, you should get a wireless external speaker that you may use to produce a loud sound.
Can i use this setup to project mobile screen?
The setup is too big to project a mobile screen on the wall. The cardboard and the magnifying box that we used in the process are not perfect for a smartphone. Therefore, it is not recommended to use a smartphone in this setup as it will give you a poor viewing experience.
However, the process of making a cardboard projector for a smartphone is the same as for a laptop. You just have to use a small, long cardboard box and a small magnifying glass.
Things to remember for safety:
Here are few things that you should consider while going through the process –
- Don’t let your kids come near the area when you are working.
- Choose a big enough cardboard box and magnifying lens.
- Deal carefully with the knife.
- Make sure everything is perfect before installing the lens in the box.
- You can any of your family members to help during the process for safety.
- If you are planning to paint the box instead of covering it up with black papers then make sure you cover the lens.
- Try to choose matte black color papers
- Increase the brightness of your laptop before playing any video.
Conclusion
Congratulations! Now you know how to project laptop screen to wall without projector. It is a very unique and interesting project that can save you some money.
Projectors are mostly used in business presentations, schools, agencies, and homes. But projecting an image on the wall using a Laptop is a fun and cost-effective way. You can carry out this process or invite your friends to join you.
A self-created projector is not an actual projector, but it is better than nothing. You can project pictures or videos on the wall or on projector screens. You can also entertain yourself by watching your favorite shows in a cost-effective way.
We hope that we have explained the process in detail so that you don’t face any problems during the process. Thanks for being with Us 🙂
Also Read: